ZimaOS on Proxmox VE
How to install ZimaOS open beta in a Proxmox VE 7.x/8.x virtual machine.

I'm always on the lookout for compact ideas to beta test in my #homelab before deploying in my office network cluster. While scrolling through Kickstarter and YouTube for Raspberry Pi projects to extend the lifetime of my rPi 3B+ cluster, I came across IceWhale's CasaOS and the ZimaBoard. I also came across the LattePanda Sigma, but that's for another time. This was around the summer time of 2023 and around the time they announced the company's internal AI Contest had been revived. The contest is done and its time to come back to see what has changed.
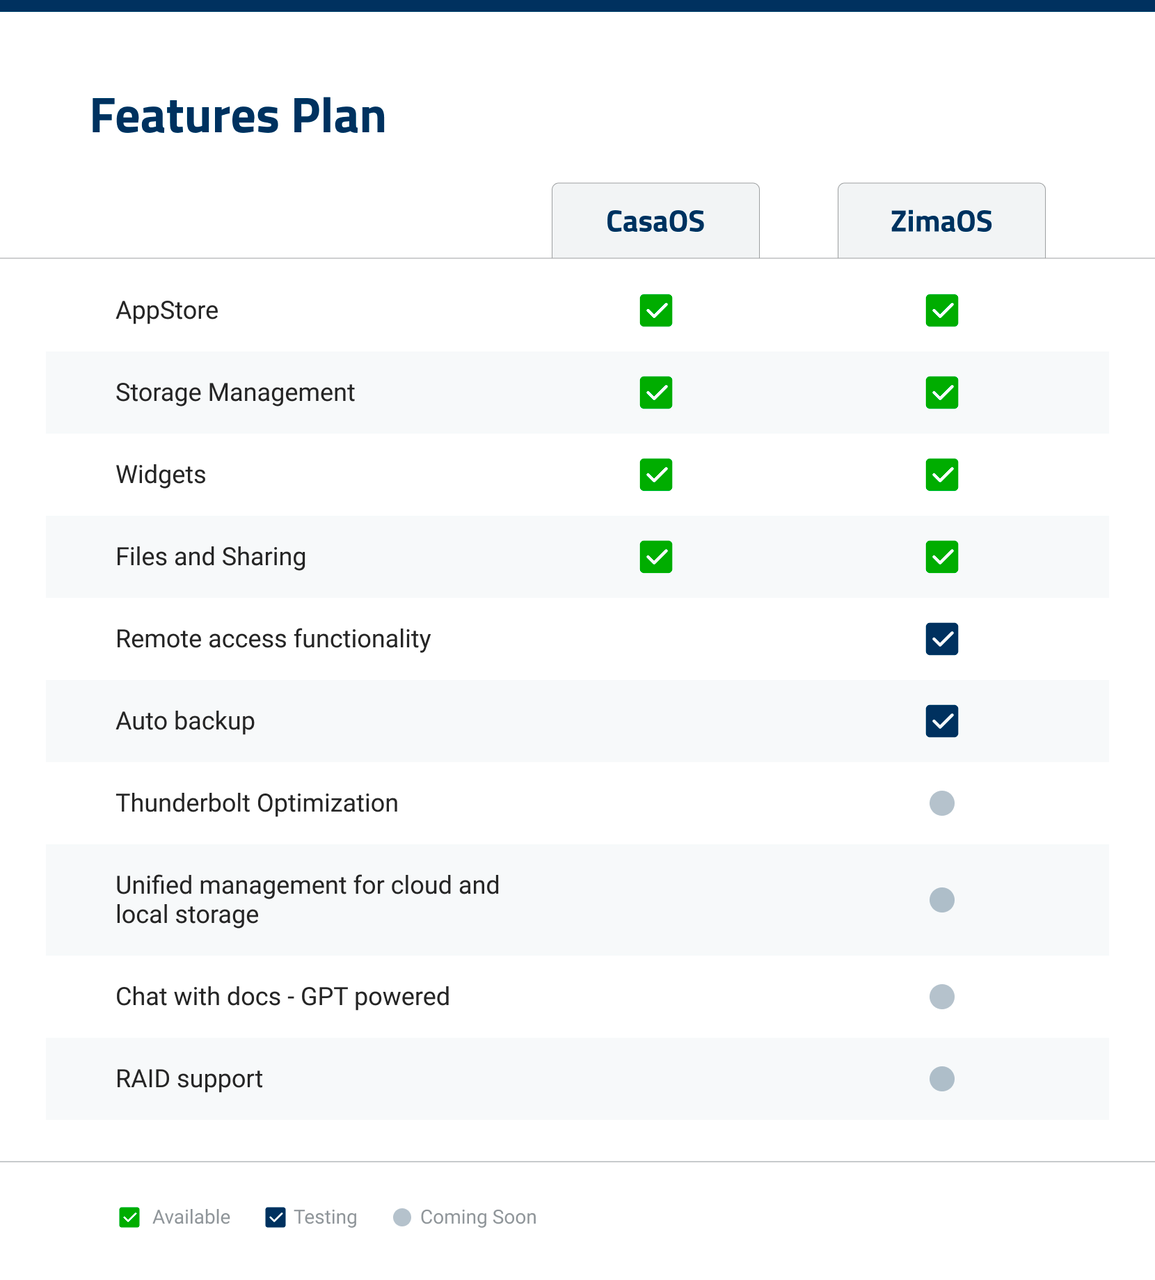
The other night, I saw the ZimaOS open beta announcement, with a GitHub link to the new project. The additional features were promising.
So, instead of the original CasaOS install via TurnKey, I decided to see if I could get ZimaOS to run on Proxmox VE 7.4-17
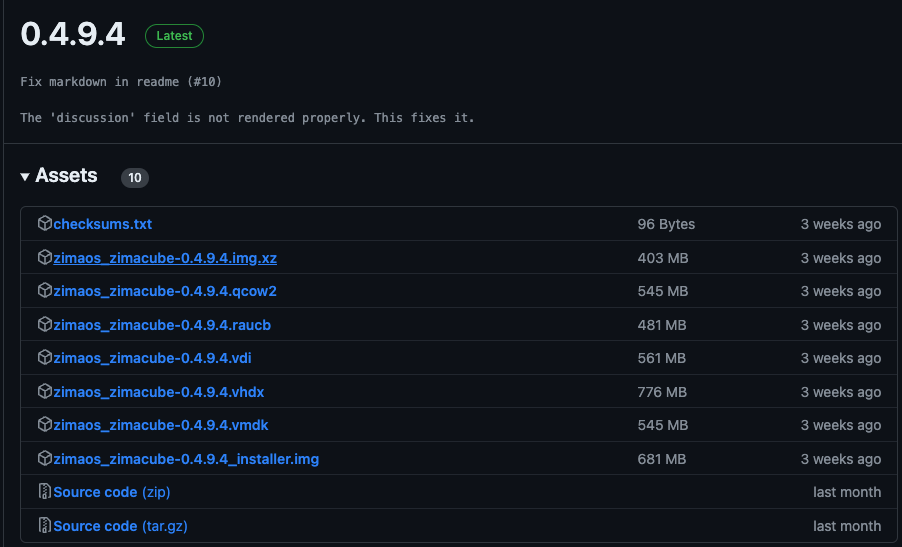
The latest release per the page as of today is v0.4.9.4, and I followed the YouTube demo instead of whatever was on the Beta page:
First, lets pickup the raw image file: zimaos_zimacube-0.4.9.4.img.xz (422.6 MB compressed) and extract it: zimaos_zimacube-0.4.9.4.img (2.44 GB)
There's no need to do any fancy mounting later if you just upload the extracted raw disk as an ISO image. Just remember that by default all uploaded ISO images will be hosted under: /var/lib/vz/template/iso/

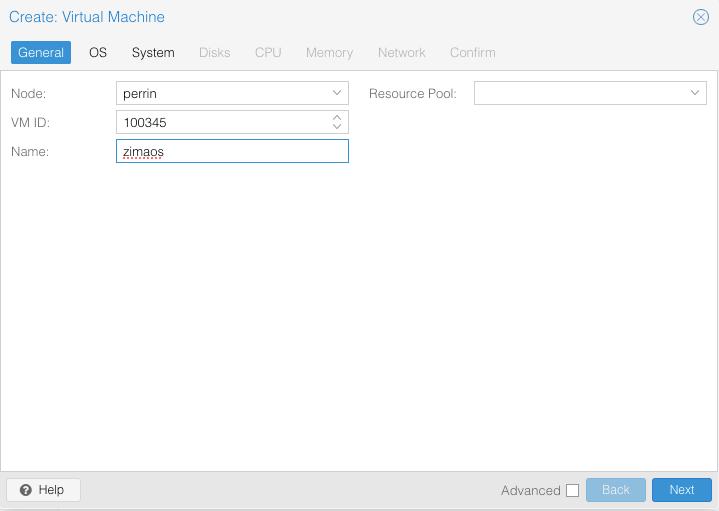
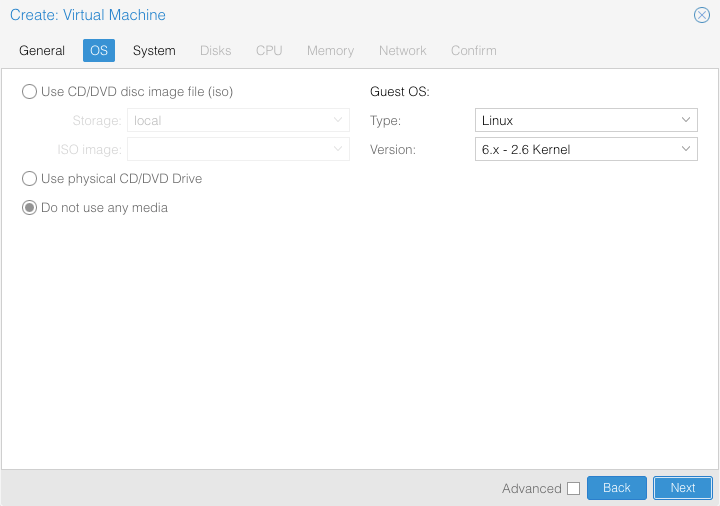
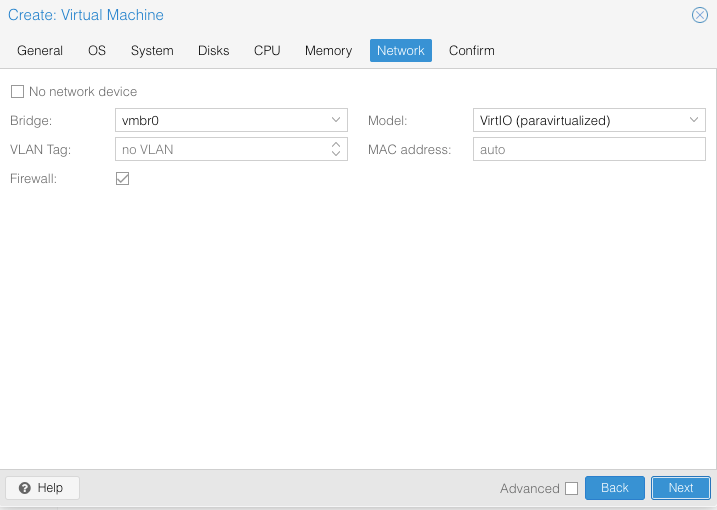
Create a new VM image with these recommended specifications:
- Do not use any media
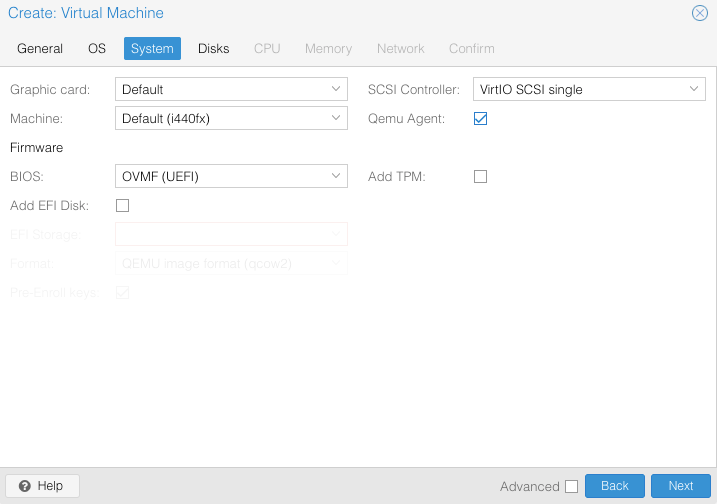
- BIOS set to OVMF/UEFI + Virtio SCSI single (Qemu Agent optional)
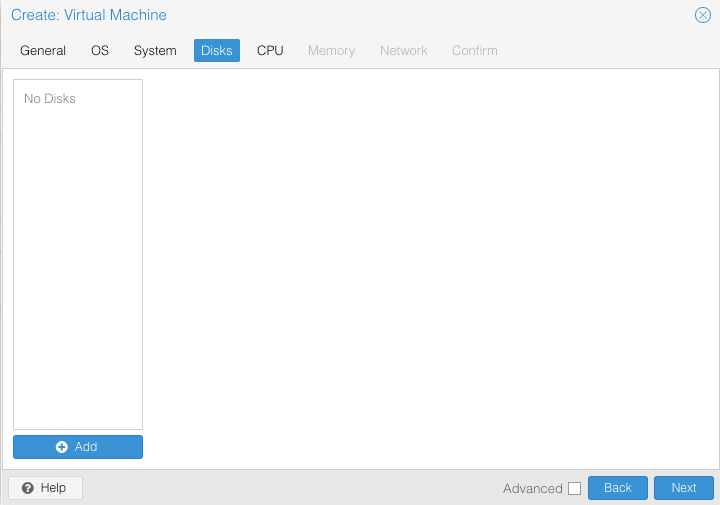
- Delete the default SCSI disk
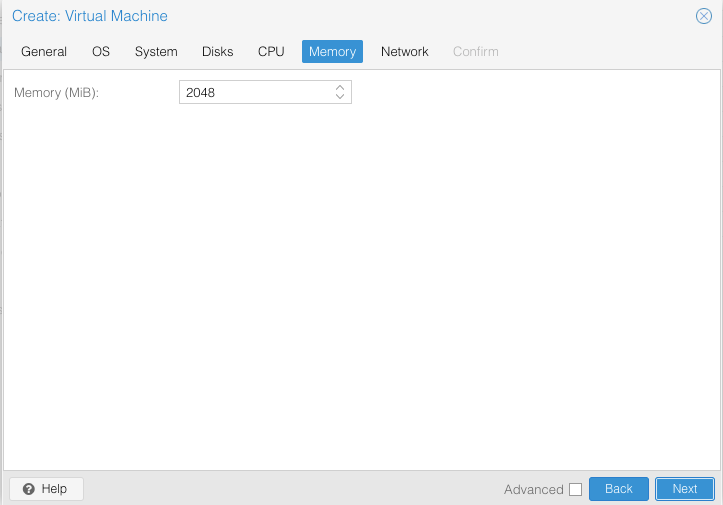
- Minimum 2048 MB memory
- Minimum one-(1) ethernet connection
Remember that raw disk we uploaded under ISO images? We're going to import it into our new ZimaOS VM, rather than convert it. The reason for this is that if we want to create more testing images then there's no need to re-upload again. Here's the command line for that: qm disk import 80808 /var/lib/vz/template/iso/zimaos_zimacube-0.4.9.4.img local-zfs
Note that VMID (80808 for me) and local storage location (local-zfs for me) might be different from yours. I'm running ZFS and others run LVM (local-lvm), your best bet is to type: local- ; and then use the Tab button to autofill the correct value.

Go back to your VM hardware settings and assign the imported disk:
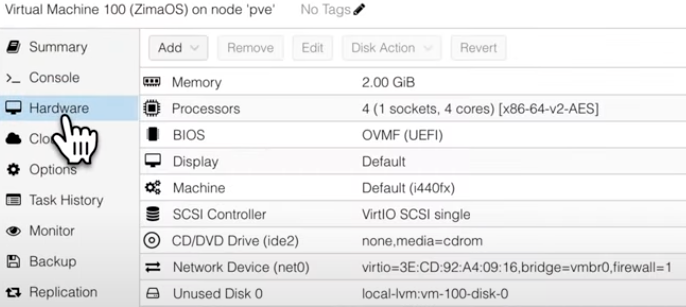
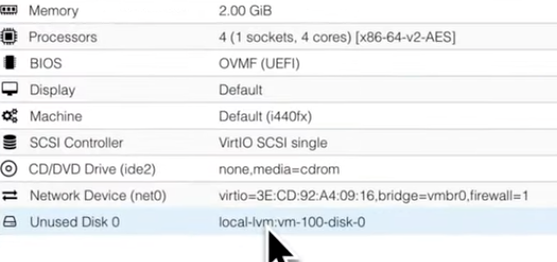
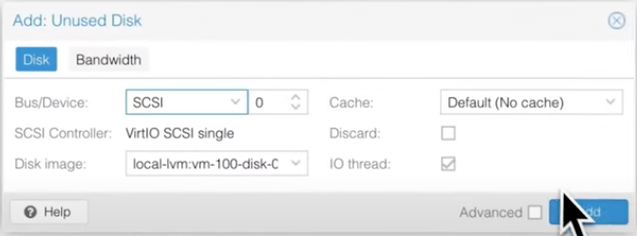
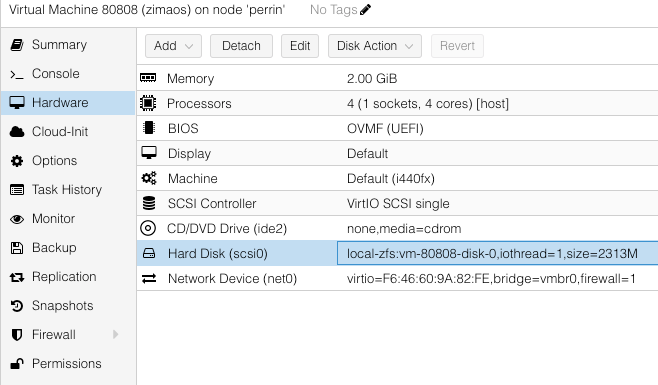
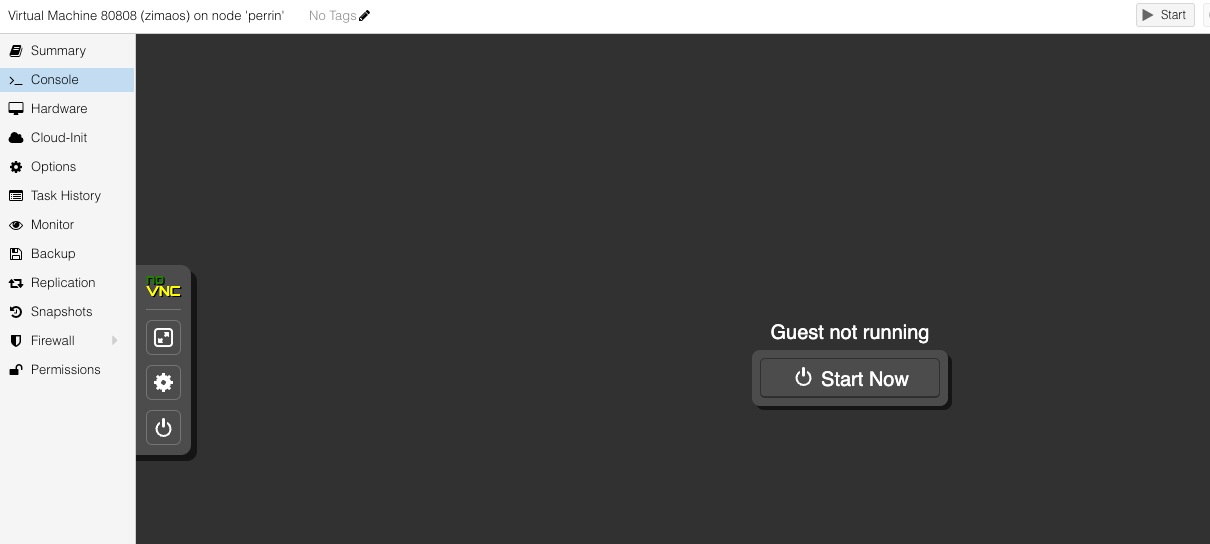
It is now time to get this thing running!
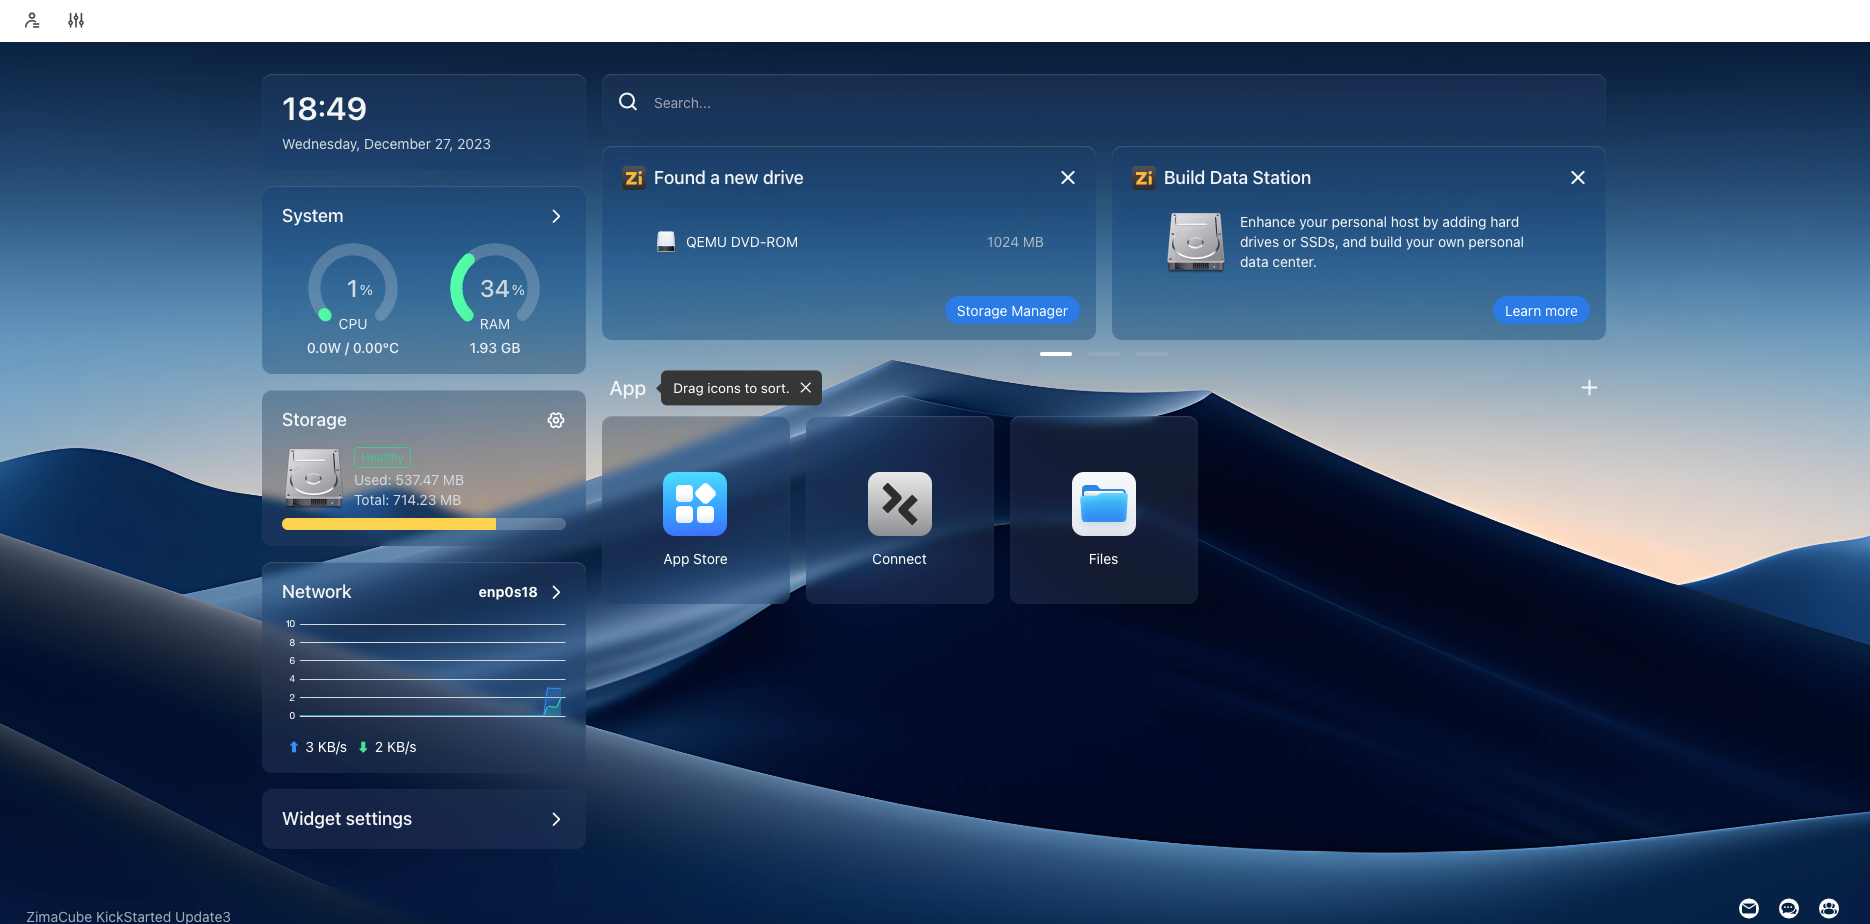
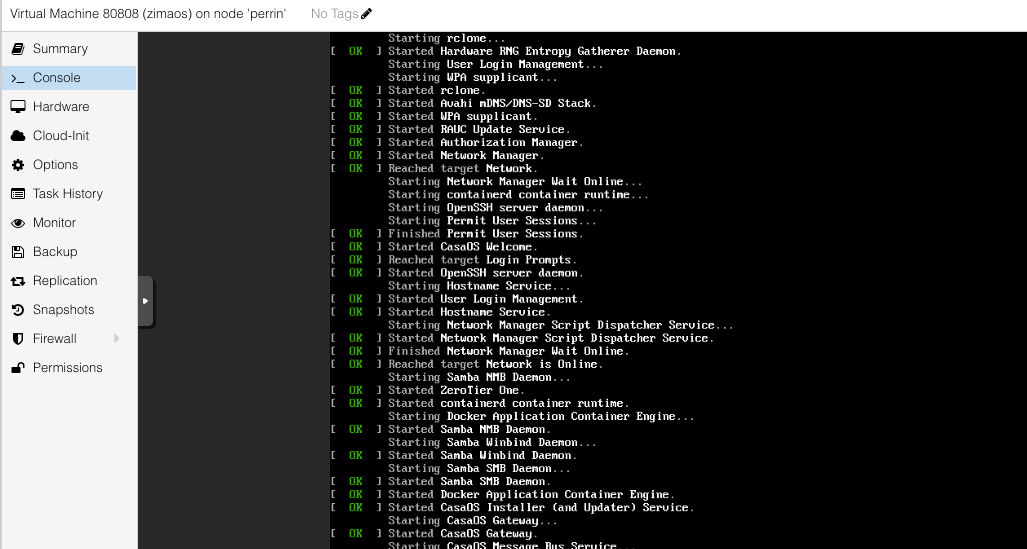
By default ZimaOS will pickup a DHCP IP address if one is available (otherwise, you probably turned that network feature off and you know what you're doing). You'll be prompted to create an initial administrator account (you can add more users later):
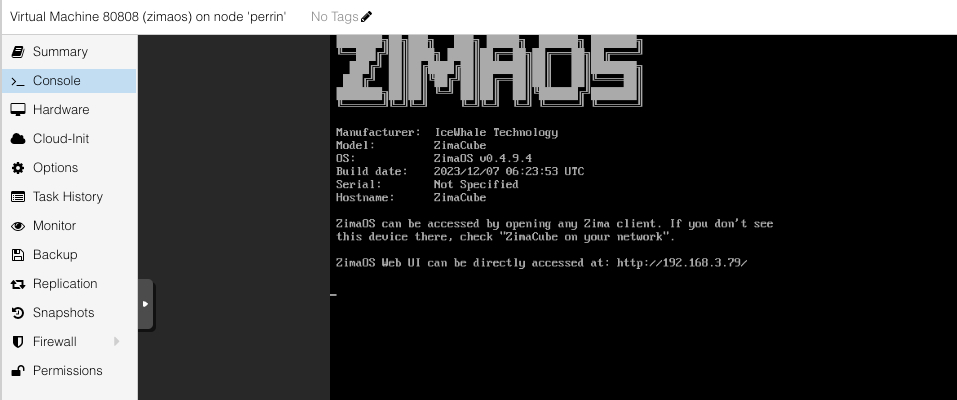
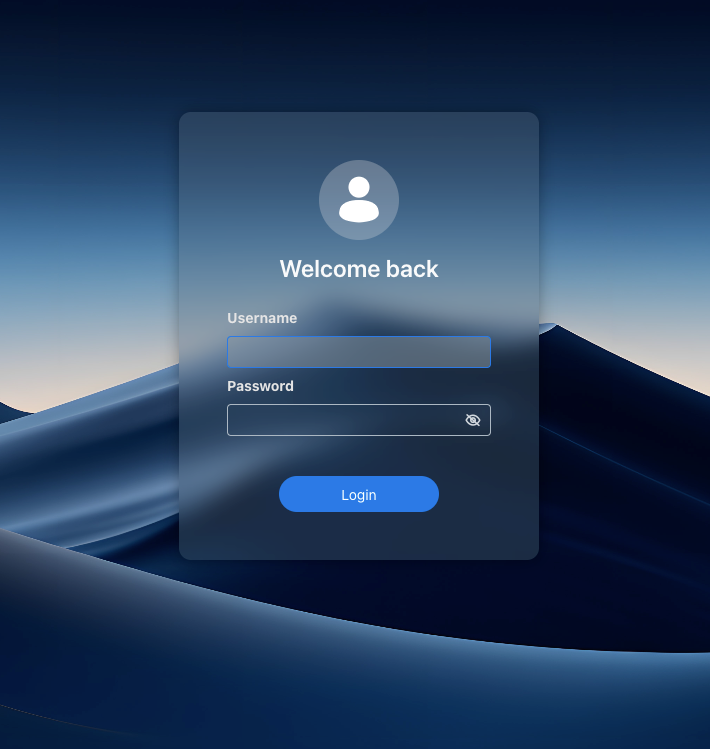
And finally, here we are: